Smart Lighting, Made Simple
Our LED RGBW lighting system is built for true plug-and-play installation, making it easy for any DIY homeowner to set up—no complicated wiring required. Once in place, the lights connect seamlessly to a simple, intuitive app that puts full control at your fingertips. Choose from a wide range of colors to set the perfect mood for any occasion—festive tones for the holidays, bold hues to show your team spirit, or crisp white lighting for everyday elegance and added security. With individual light control, you can adjust brightness, patterns, and effects to match your style and make your home shine all year long.
24/7 Support
Installation

How to Cut aluminum Corner 45 Degrees
Steps to make that perfect cut using Tins Snips

How to Cut Aluminum for a Gable
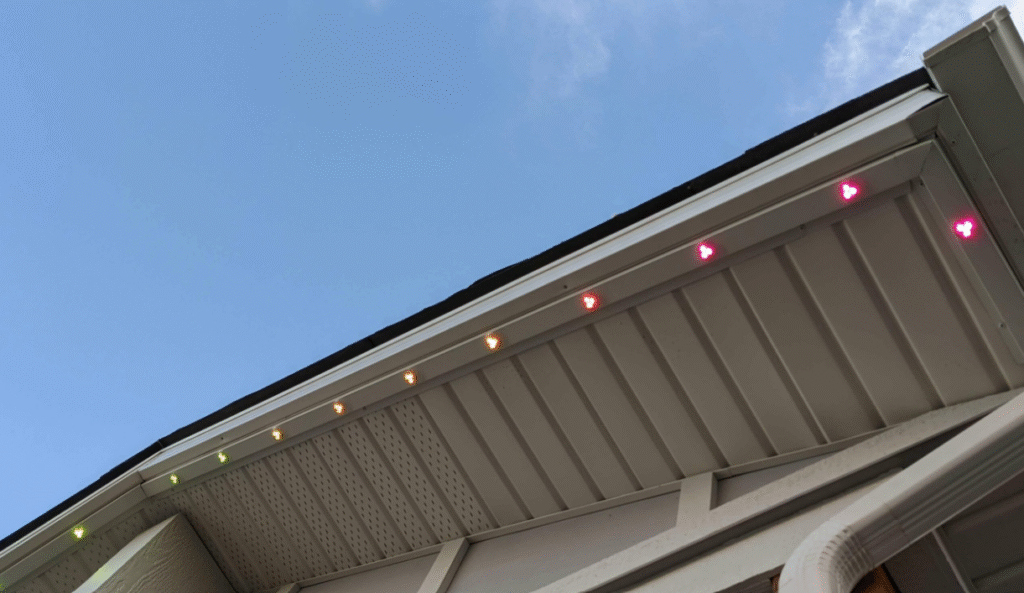
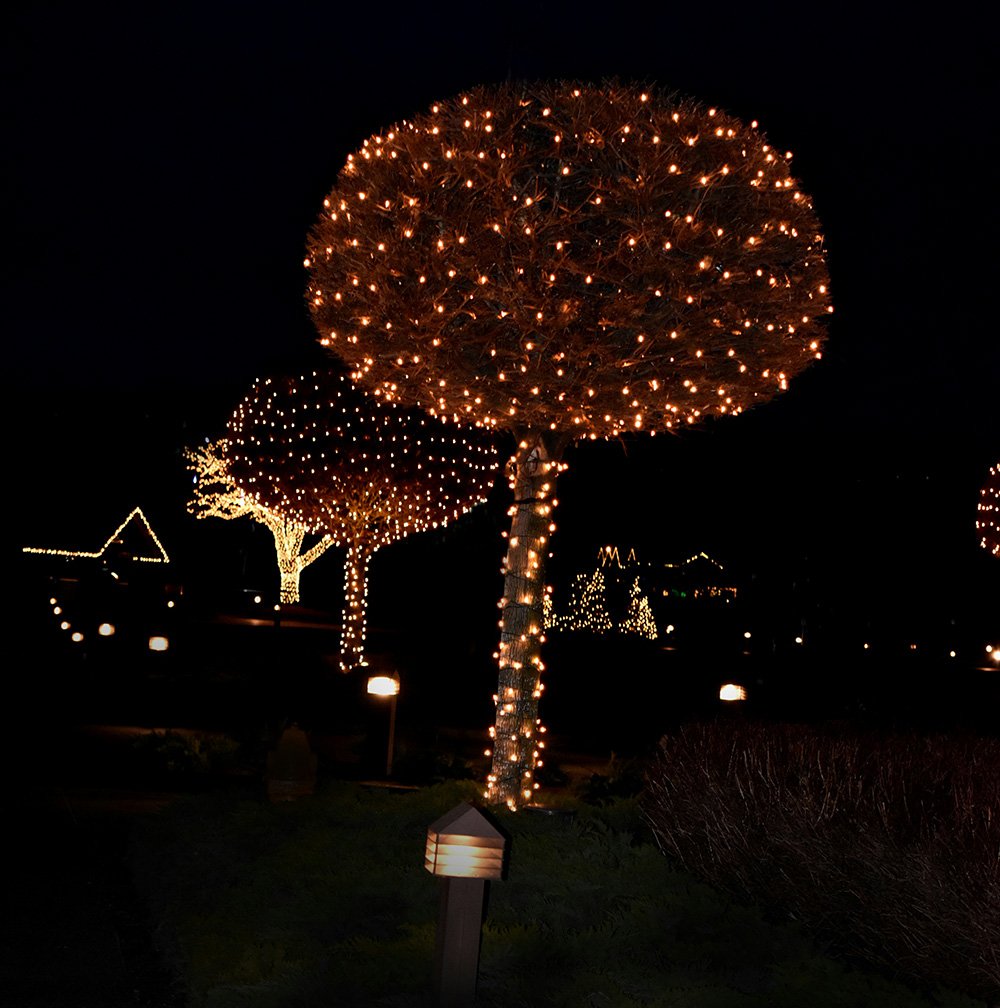
Transform your home with our quality outdoor track lighting solutions.

How the Plug and play Connectors work
Hassle-free install with male and female connectors for easy install for DIY.
Step-by-Step Guide to Installing Track
for LED Home Permanent Lights
Installing track for I light my home permanent lights can enhance your space significantly. This tutorial aims to provide a clear, methodical approach for anyone looking to imbue their environment with these beautiful lights. Following these straightforward instructions will help you achieve a professional result.
Gathering the Necessary Tools and Materials
Before starting the installation, make sure you have all necessary tools and materials at hand. Having everything ready will streamline your installation and reduce unnecessary interruptions. You will need:
- Track lighting kit
- Drill with drill bits
- Speed Square
- Tape Measure
- Tin Snips
- Level
- Pencil/Marker
Steps to Install Track Lighting
1. Determine Track Placement: Use your pencil to mark where you want the track to mount. Consider the layout of the runs and how the lights will illuminate the space.
2. Attach the lights: Snap the permanent light in the designated holes within the track. Ensure they are tightly secured and level to ensure even light distribution.
3. Using the plug and play cable: Ensure you use the correct combination of light and cable for the designated length runs and carefully route and secure within the aluminum track.
4. Install the track: Secure the track to the designated area of the soffit using color match screws provided. Ensure you attach the plug and play connections with each piece of track you secure .
5. Power supply/Controller: Plug the power supply into the AC outlet and ensure the plug and play cables are attached to the correct channel of the controller output for each designated light run.
